A Complete Beginner’s Guide
This guide will walk you through publishing your first interactive fiction story using Ink and the Ink Story Template. No programming experience required.
By the end, you’ll have a playable game hosted on itch.io that you can share with anyone.
Time required: About 30-60 minutes to set up your first story.
Table of Contents
What We’re Building
Interactive fiction (IF) is a genre of games where the player reads a story and makes choices that affect what happens next. Think “Choose Your Own Adventure” books, but on a screen.
We’ll use Ink, a scripting language created by Inkle (the studio behind 80 Days and Heaven’s Vault). Ink is designed specifically for interactive fiction—it’s powerful enough for professional games but simple enough to learn in an afternoon.
The Ink Story Template takes your Ink story and wraps it in a polished web interface with saves, themes, accessibility features, and more. You write the story and the template handles everything else.
Step 1: Install Inky
Inky is the official editor for Ink. It’s where you’ll write your story.
- Go to the Inky releases page
- Download the version for your system:
- Windows:
Inky_windows_64.zip(orInky_windows_32.zipfor older 32-bit computers) - Mac:
Inky.dmg - Linux:
Inky_linux.zip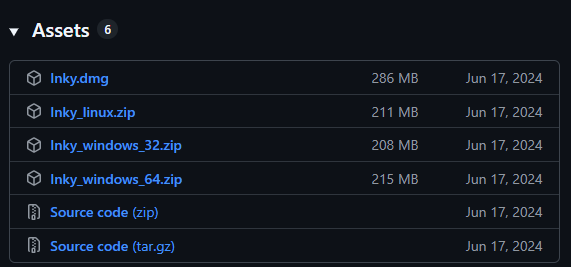
- Windows:
- Unzip the downloaded file (Windows, Linux), or double click to install (Mac)
- Open the folder and run Inky (you may have to authorize it to run, and if you’re on Linux you might have to give it permissions to run with
chmod +x Inky)
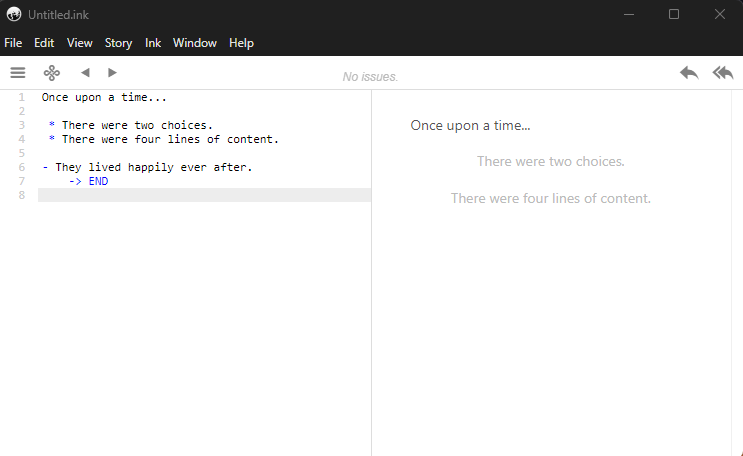
When Inky opens, you’ll see a split screen: your script on the left, a preview of your story on the right.
Why Inky? You could write Ink in any text editor, but Inky gives you a live preview as you type. You’ll see exactly how your story plays, which makes writing and testing much faster. If you’re already comfortable with VS Code, check out the Intermediary Guide for an alternative setup.
Step 2: Write a Simple Story
Let’s create a tiny story to make sure everything works. You can replace it with your real story later.
Delete any text in the editor and type this:
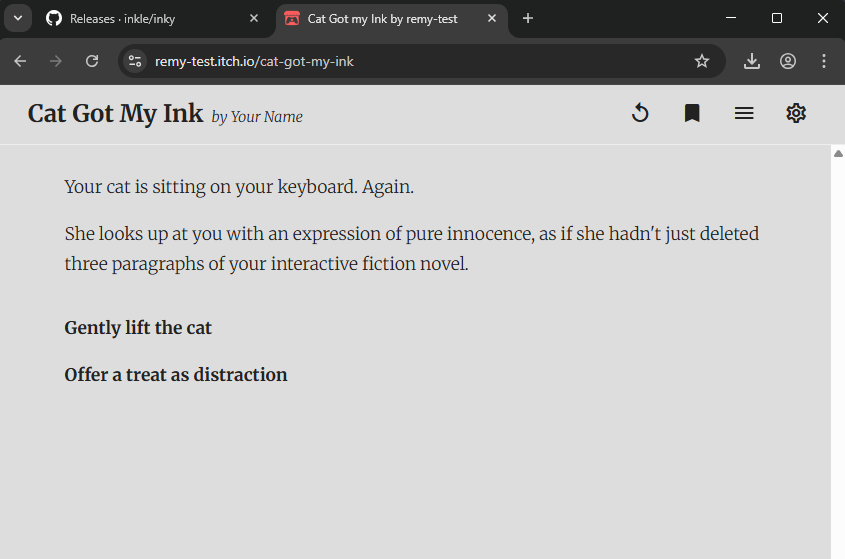
# TITLE: Cat Got my Ink
# AUTHOR: Your Name

Your cat is sitting on your keyboard. Again.

She looks up at you with an expression of pure innocence, as if she hasn't just deleted three paragraphs of your interactive fiction novel.

* [Gently lift the cat]
  You carefully scoop her up. She purrs, victorious.
  There are now seventeen extra 'g's in your document.
  -> END

* [Offer a treat as distraction]
  You shake the treat bag. Her ears perk up instantly.
  She leaps off the keyboard... Stepping on Ctrl+S on her way down.
  At least your work is saved.
  -> END
As you type, the right panel shows your story. Try clicking the choices to play through it.
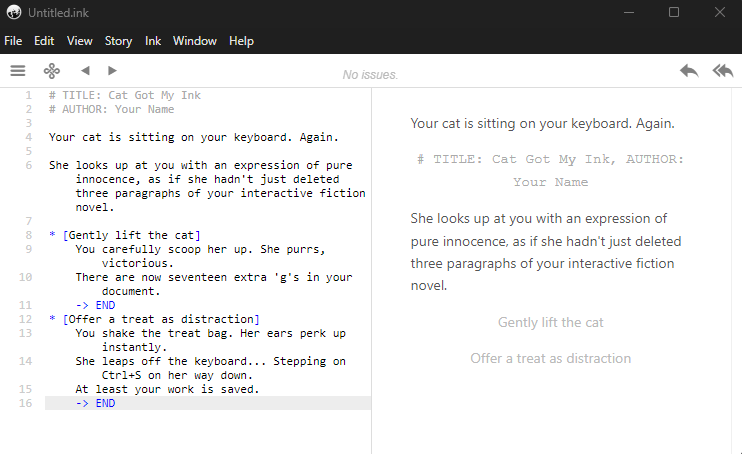
Note: Inky displays the
# TITLEand# AUTHORtags in its preview panel. Don’t worry—tags are only visible in the editor, not in your final story. The template reads them behind the scenes to set up the header.
Understanding the Syntax
Let’s break down what you just wrote:
Tags start with # and give the template information:
# TITLE: Cat Got my Ink
# AUTHOR: Your Name
These set your story’s title and author name, which appear in the template’s header.
Regular text becomes story content:
Your cat is sitting on your keyboard. Again.
Choices start with *:
* [Gently lift the cat]
  You carefully scoop her up. She purrs, victorious.
The indented text below is what appears when the player picks that option.
The [brackets] are optional but useful: text inside brackets disappears after the player clicks, while text outside brackets gets repeated as part of the story. For example:
* "Hello," you say.
After clicking, the story would show: "Hello," you say. followed by whatever comes next. This lets choices flow naturally into the narrative. For now, using brackets is a safe default—you can experiment with this later.
-> END marks where the story stops. Every path needs to end somewhere.
Learning more: This is just the basics. Ink can do much more—variables, conditional text, loops, and complex branching. Once you’re comfortable with the template, check out Inkle’s Writing with Ink guide.
Step 3: Save Your Project
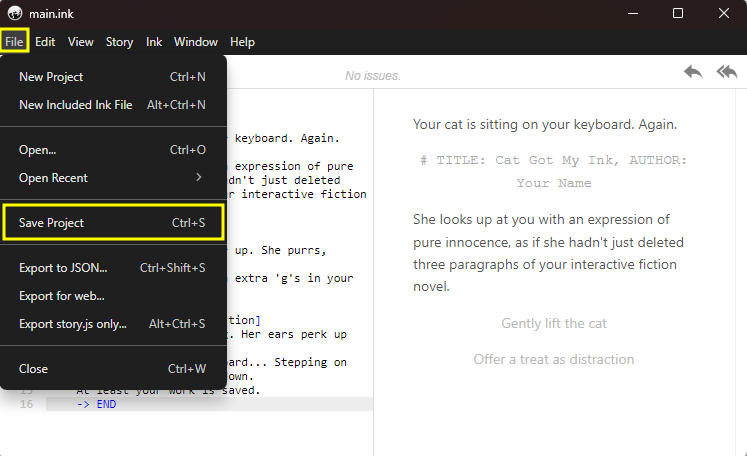
Quick! Let’s save the Inky project file before your cat gets to touch your keyboard.
- Click
File > Save Project - Create a folder for your story (e.g.,
CatGotMyInk) - Save the file as
main.ink
Your .ink file is your source code. You’ll edit this whenever you want to change your story.
Step 4: Download the Template
Now let’s get the template that will turn your story into a playable web game.
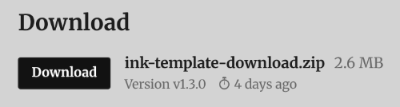
- Go to the template download page on itch.io
- Click Download
- Unzip the downloaded file
You’ll see a folder structure like this:
ink-template-download/
├── index.html
├── story.json        ← We'll replace this
├── README.txt
├── css/
│   ├── template.min.css
│   └── custom.css
├── js/
│   ├── template.min.js
│   └── custom.js
└── assets/
The template comes with a demo story. We’re going to replace it with yours.
Step 5: Export to JSON
The web template doesn’t read .ink files directly. We need to go back to Inky and export (or “compile”) the story to a format called JSON.
What’s happening here?
Your .ink file is written for humans—it’s easy to read and edit. But browsers don’t understand Ink syntax. The export process translates your story into JSON (JavaScript Object Notation), which is a simple format that browsers can read and understand easily.
Think of it like turning a physical book into an e-book. The story is the same; it’s just in a format that the browser can understand.
Why this is actually helpful
The export step isn’t just a format conversion—it’s also a safety check. Inky analyzes your entire story and warns you about problems, like:
- Dead ends (paths that don’t lead anywhere)
- Missing knots (links to sections that don’t exist)
- Various syntax errors (forgotten bracket, etc.)
If there’s a problem, Inky will show an error instead of exporting. This means your readers will never hit a broken path that you missed during testing. Better to catch these issues now than have a player email you saying “the story just stopped!”
Exporting to JSON
Let’s export:
- In Inky, click
File > Export to JSON... - Navigate to your story folder
- Save it as
story.json

You now have two files in your project folder:
main.ink: your editable source (for you)story.json: the compiled story (for the template)
Important: Always keep your
.inkfile safe. If you lose it, you’d have to recreate your story from scratch—the JSON file isn’t meant to be edited by hand.
Step 6: Add Your Story to the Template
This is the key step: putting your story into the template.
- Rename the template folder from
ink-template-downloadto anything you want (e.g.,cat-got-my-ink), and move it to your project folder with the.inkfiles. (This keeps everything in one place.) - Find the
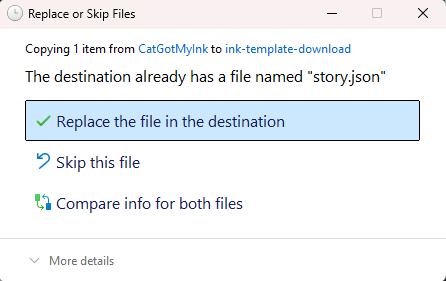
story.jsonyou exported from Inky - Copy it
- Paste it into the template folder, replacing the existing
story.json
That’s it. Your story is now in the template.
Step 7: Publish to itch.io
itch.io is a popular platform for indie games, including interactive fiction. It’s free to use and your game will be playable directly in the browser.
Create an itch.io Account
- Go to itch.io
- Click Register in the top right
- Fill in your details and create an account
- Don’t forget to verify your email: itch.io won’t let you upload files until you click the confirmation link they send.
Note: During registration, select “I’m interested in distributing content on itch.io” to get a creator account. If you already have a regular account, you can convert it to a creator account in your settings.
Create Your Game Page
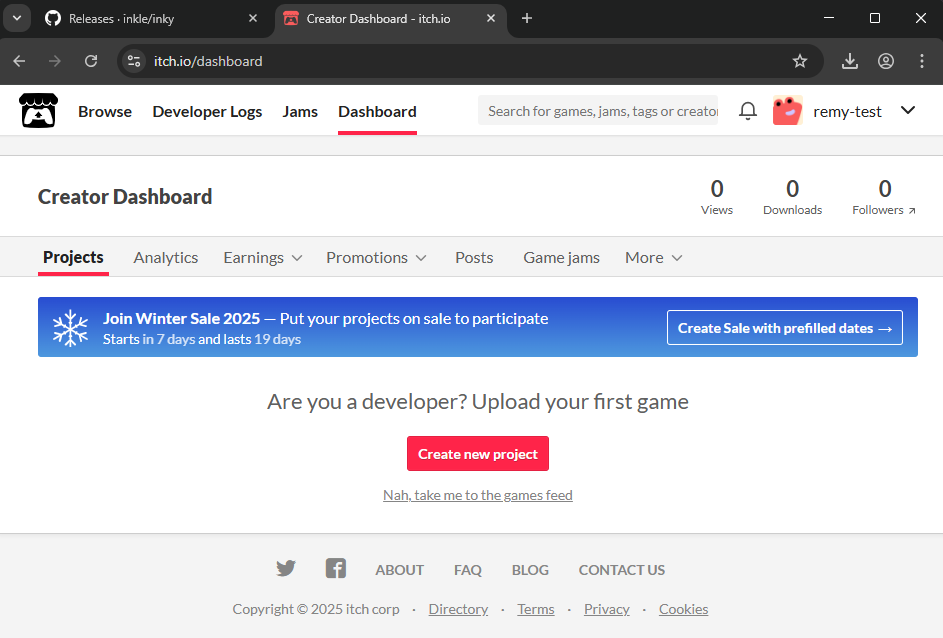
- Click your profile icon >
Dashboard - Click Create new project
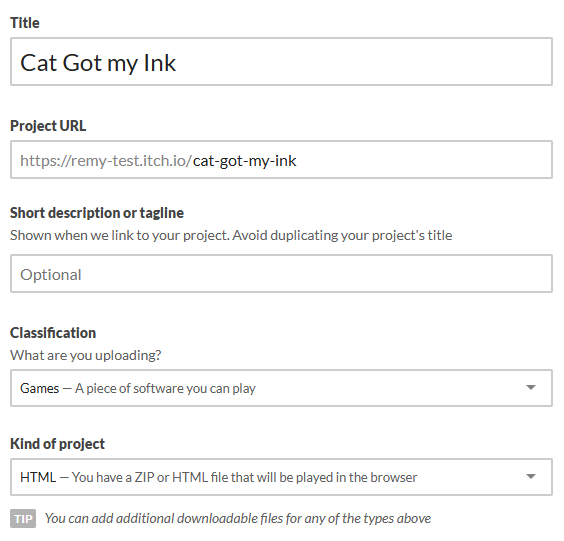
- Fill in the details:
- Title: Your story’s name
- Kind of project: Select HTML
Note: New projects start in “Draft” mode by default—your game won’t be publicly visible until you change the visibility to “Public”. This lets you test everything before going live.

Upload Your Files
- First, zip your template folder:
- Select all files in the template folder (the one where you copied your
story.jsonfile) - Right-click >
Send to > Compressed (zipped) folder(Windows) - Or right-click >
Compress(Mac)
- Select all files in the template folder (the one where you copied your
- In the itch.io project page, scroll to Uploads
- Click Upload files and select your zip file
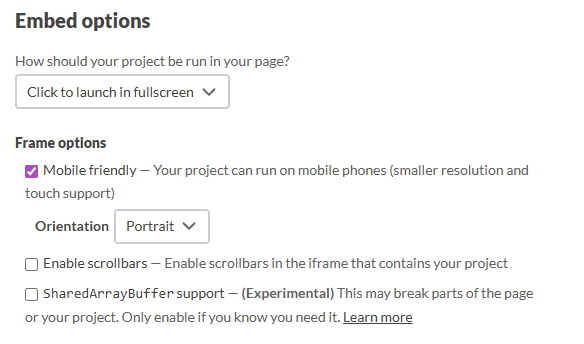
- Important: Check the box that says “This file will be played in the browser”

- Under Embed Options, make sure to tell itch.io to “Click to launch in fullscreen” and under Frame Option, tick the Mobile Friendly box. (Portrait looks best for this template but feel free to experiment with landscape orientation)
Save and View
- Scroll down and click Save & view page
- Your game is now live! (In draft mode for now, but you can view the page.)
- Click view page and then the Run game button to play your story.
When you’re ready to make the page public, go edit the project on itch.io to set the visibility to public and share the URL with the world!
Step 8: Making Changes
Made a typo? Want to add more content? Here’s how to update your published story:
- Open your
main.inkfile in Inky - Make your changes
File > Export to JSON(replace the oldstory.json)- Copy the new
story.jsonto your template folder - Re-zip the template folder
- On itch.io, go to your project >
Edit - Delete the old upload and upload the new zip
- Save
It sounds like a lot of steps, but after your second or third update, it becomes muscle memory—under a minute.
Getting tired of re-uploading to test changes? Once you’re making frequent edits, previewing on your own computer saves a lot of time. See the Local Testing guide—the easiest option takes about a minute to set up.
Next Steps
Congratulations! You’ve published your first interactive fiction game. Here’s where to go from here:
Improve Your Story
- Add images and audio: See Images and Audio
- Format your text: Learn bold, italics, headers, and more
- Create reference pages: Add a character sheet or credits page
- Track stats: Use stat bars for RPG-style stories
Learn More Ink
- Writing with Ink: the official guide
- Ink Patreon: advanced tutorials and community
Level Up Your Workflow
- Local Testing: ways to preview your story on your local computer
- Intermediary Guide: speed up your workflow with instant preview and multi-file projects
- Advanced Guide: never lose work, automate your publishing
Tips & Troubleshooting
The preview in Inky shows an error
Check your syntax. Common mistakes:
- Missing
-> ENDat the end of a path - Forgetting to indent text after a choice
- Mismatched brackets
My story doesn’t appear in the template
- Make sure you exported to JSON, not just saved the .ink file
- Make sure you replaced
story.jsonin the template folder - Make sure the file is named exactly
story.json
itch.io says “No game to run”
- Check that you selected “This file will be played in the browser”
- Make sure your zip contains
index.htmlat the root level (not inside another folder)
Something else is broken Open an issue and describe what’s happening. Include any error messages you see.
Questions? Open an issue on GitHub.